Look Closely Before You Reach for a Camera Setting
A wildflower photograph becomes compelling when it shows something you actually noticed: a petal catching soft light, a bee balanced on a flower head, or the way a small cluster rises through surrounding grasses. The camera settings help preserve that observation, but they do not decide what the picture is about. Before moving closer, study the subject, background, and direction of light from a place where you can work without damaging the planting. Choose whether you want a flower portrait, a detail, or a view that explains its garden setting. Then position the camera and adjust exposure and focus to support that intention. You can make thoughtful photographs with a phone or a dedicated camera, provided you understand the limits of your equipment and the conditions. Patient observation, a clear composition, and respect for the plants will usually improve the result more than immediately buying another lens or copying a fixed settings recipe.
A: The flower may still sway in wind, so review subject movement and adjust shooting timing or shutter speed.
A: Focus on the feature central to the picture's purpose, whether that is the flower center or a particular petal edge.
A: No, selective focus can make a useful portrait when the important feature remains clear and the blur supports the composition.
A: Change camera height or direction from an accessible position so the background improves without moving or damaging garden plants.
A: Step back within its useful focus range or use a suitable close-focus mode supported by that phone model.
A: No, higher ISO may provide the faster shutter needed to preserve important detail when the flower moves in wind.
A: No, avoid manipulating living stems; wait for calmer air or choose another reachable flower in a more sheltered position.
A: Observe repeated visits and compose around an active flower, waiting respectfully where the insect can continue its normal behavior.
A: Inspect petal edges, thin stems, and other detailed boundaries where artificial blur may have misread the subject's outline.
A: Identify a repeated need for close detail that the current equipment cannot provide before deciding whether a macro lens helps.
Decide What the Photograph Should Reveal
Begin with one visual reason for making the picture. You might be drawn to the shape of a flower, the contrast between several species, or an insect using the bloom. That choice helps determine the camera position and how much surrounding detail belongs in the frame. A close portrait can show texture, while a wider view can explain how the flower grows among its neighbors. Neither approach is automatically better. The photograph works when the subject and framing support the same idea.
Look for a healthy or interesting subject that is accessible from a safe position. An imperfect petal can tell a useful seasonal story, so the most pristine flower is not always necessary. Avoid pulling stems into place or removing nearby plants to simplify the scene. Move your viewpoint where access permits, or choose a different bloom. In a home garden you can plan a comfortable photography route, and in public or wild places you should follow site rules and protect vegetation.
Consider making a small sequence rather than forcing every detail into one image. A wider garden view, an individual flower, and a close detail can communicate different aspects of the same planting. Keep each frame deliberate, with a clear subject and a suitable amount of context. This also encourages you to notice growth habits and relationships beyond the most colorful petal. A thoughtful set can be more informative than a collection of nearly identical close-ups made without a change in purpose.
Let Light Give Petals Shape and Texture
Soft overcast light can make delicate flower colors easier to record without harsh shadows. Gentle early or late light may reveal petal edges and create a different atmosphere, while strong midday sun can produce bright highlights and dark gaps. Study the actual scene instead of treating a particular hour as a guarantee. Nearby walls, trees, and cloud cover alter the light reaching the subject. Choose the conditions that support the texture and mood you want to show.
Change your position relative to the light before changing equipment. Side lighting can reveal surface texture, while backlighting may make translucent petals glow. Watch that bright areas retain detail rather than becoming featureless white patches. A dark background behind a lit bloom can create useful separation if it occurs naturally from an accessible angle. Review the result on the screen and adjust exposure as needed. The best position may be a small step away from the place where you first noticed the flower.
Simplify the Background by Moving the Viewpoint
Inspect the area behind the flower for bright patches, tangled stems, or lines that appear to cut through the subject. A slight change in height or direction can replace a distracting background with a quieter one without touching the plants. Keep enough context when the image is intended to show habitat or planting combinations. Blurring everything is not the only route to a successful photograph. The background should help explain or emphasize the subject, rather than draw attention away from the reason you chose it.
Put Focus on the Detail That Matters Most
In a close flower portrait, decide which feature needs to appear sharp. The central structures, a petal edge, or the insect on the bloom may each call for a different focus position. A camera's automatic choice may settle on the nearest leaf instead of the intended subject. Use an appropriate focus area, tap the relevant detail on a phone, or apply manual focus when the equipment and scene make that useful. Check the result rather than assuming the displayed focus indicator guarantees the picture you intended.
Close working distances can make depth of field very limited. Parts of the flower in front of or behind the chosen focus plane may become soft even when the main detail is sharp. Consider whether that selective focus supports the picture or conceals essential features. Moving slightly farther away can increase the usable sharp area and may produce a better composition. A close-up need not fill every edge of the frame to communicate its subject effectively.
With a camera that allows aperture control, compare the result of a wider aperture with a smaller one. A higher f-number can increase depth of field, but it changes the exposure balance and does not guarantee that an entire three-dimensional flower will be sharp. Extremely small apertures can also introduce tradeoffs in fine detail. Choose enough depth for the image's purpose and inspect it at a useful magnification. There is no single aperture that works for every flower, lens, distance, and background.
Treat Wind as Subject Movement Rather Than Camera Shake
A tripod can stabilize the camera while the flower continues moving in a breeze. Watch the stem and take photographs during natural pauses, or choose a shutter speed fast enough for the motion you want to control. The required speed depends on wind, magnification, and the subject rather than a universal garden setting. Review fine details for movement blur. If the scene remains too unstable, a wider view or a return under calmer conditions may produce a more satisfying result. Keep the exposure tradeoffs visible. A faster shutter may require a wider aperture, increased ISO, or more available light. Higher ISO can be a reasonable choice when it preserves the needed sharpness, even though it may increase noise.
Do not accept a blurred important detail merely to maintain an unnecessarily low ISO. At the same time, avoid raising settings without checking whether the flower has become still enough for a gentler exposure. Make the choice for the actual scene. Do not damage or immobilize a living subject to solve movement. Avoid bending stems into clips, spraying unwanted substances onto flowers, or manipulating insects for a photograph. A sheltered bloom can be selected without altering its surroundings, and patient observation may reveal recurring pauses in the breeze. Photograph movement intentionally if it suits the image. The garden remains a living place, and the camera should record its conditions rather than require the plants to become props.
Use a Phone Deliberately Instead of Chasing Digital Magnification
A phone can make excellent garden pictures when its camera is kept within a useful focusing range. Clean the lens, choose a stable position, and check that the intended subject is sharp before shooting. If moving too close prevents focus, step back rather than assuming more magnification will solve the problem.
Some phones offer a dedicated close-focus mode, but its behavior varies by model. Learn how your own camera switches lenses or modes so the result is intentional rather than a surprise. Excessive digital zoom can reduce the useful detail in the file.
A well-composed image from an appropriate distance may allow a modest crop later while preserving more information. Use the screen to inspect edges, bright petals, and background distractions before pressing the shutter. Artificial background-blur modes can misinterpret fine stems or petals, so review their boundaries carefully. The phone's convenience is valuable, but thoughtful positioning and a clear subject still determine the strongest garden photograph.
Choose Extra Equipment for a Specific Limitation
A dedicated macro lens can help when your goal requires close reproduction of small details, but it brings shallow-depth and stability challenges rather than removing them. A tripod or other suitable support can help in still conditions, provided it can be placed without trampling plants.
A longer working distance may be useful for insects or awkwardly positioned blooms. Identify the limitation you encounter repeatedly before buying equipment. A new tool earns its place when it solves that particular difficulty in a way you can use comfortably.
Photograph Pollinators With Space and Patience
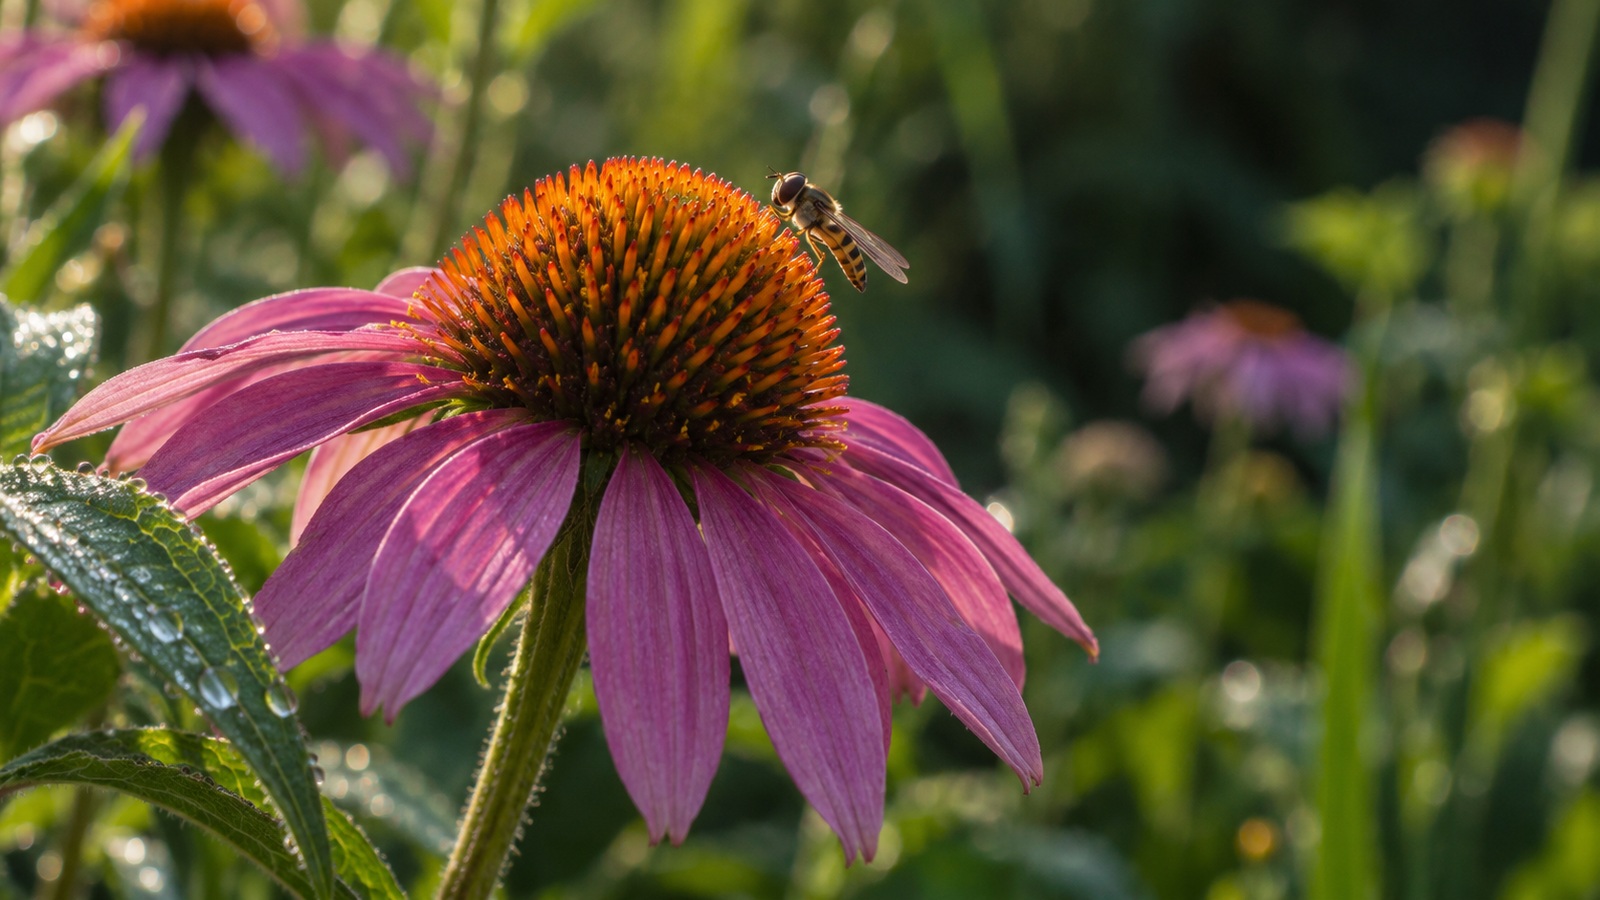
Observe where insects are already visiting and wait at a suitable accessible position. Precompose around a flower that receives regular activity, keeping the intended insect or interaction in mind. A faster shutter and suitable focus method may help, but exact choices depend on movement and camera capability. Do not chase an insect through the bed or disturb its resting place. The most useful approach often combines anticipation with enough distance to let normal behavior continue.
Decide whether the photograph is primarily a flower portrait or a record of the visitor. If the insect is the main subject, ensure the important part is sharp and visible rather than hidden behind a petal. If the interaction matters, include enough flower structure to explain it. Avoid presenting an uncertain identification as definite when sharing the image. A clear photograph and a careful description can be valuable even before the species is confirmed.
Respect the setting when adding light or changing position. Follow applicable site rules, avoid repeated disturbance, and choose another subject if access would damage vegetation. In a home garden, keep your own safety and the insects' normal activity in view, particularly around species that may sting. A good wildlife photograph does not require contact or manipulation. Patient images often show behaviors that disappear when the photographer tries to control the scene too closely.
Edit to Clarify the Observation and Review What Worked
Begin editing with modest changes to exposure, color balance, and crop. Preserve petal detail and natural color unless you are deliberately making an artistic interpretation. Excessive sharpening or saturation can make flowers look brittle or implausible, while a heavy crop can conceal the limited detail available in the original file. Compare the edited image with the scene you observed. If the photograph is shared as a botanical record, disclose substantial alterations that change what was actually present. Keep useful context with the finished images, such as date, general location, and a reliable plant identity when known. Review why the strongest frame worked: perhaps the background was simpler, the wind paused, or the focus plane matched the important detail. That observation gives the next outing a specific purpose.
You do not need to reproduce the same flower or composition; carry forward the skill that improved the result. Protect sensitive location information where revealing it could encourage damage. Return through the season to discover new subjects instead of pursuing only peak bloom. Buds, seed heads, changing foliage, and the relationship between flowers and surrounding plants can all make worthwhile garden pictures. Continue choosing access that protects the planting and camera settings that serve a clear intention. Stunning wildflower photographs emerge from careful attention to light, form, and living activity. The final image becomes stronger when the garden remains healthy and the observation behind the photograph is easy to see.
Learn the Camera While Protecting the Garden
Explore Nikon’s close-up photography guidance to understand equipment choices. Find practical gardening equipment in Garden Product Reviews.